
Upgrading To Publishers' Assistant Version 5
Submitted by Ron Lawrence
February 16, 2010
While installing Version 5 is pretty straight forward, upgrading from previous versions can present some challenges. There are some significant differences in the installation of Version 5 from previous versions of PubAssist. The most significant of these changes is the new location of your data. If you are an Epic user, then you have already had to deal with locating your data in a place where it can be accessed by multiple users. Sonnet and Lyric users, however, haven’t had to worry much about this.
Traditionally, your PubAssist data has been located in the data sub-folder in c:\program files\pubassist\data\. The Version 5 installation is designed to be Windows Vista compatible. Vista doesn’t like anything in the program files folder to change, and will insist on administrative privileges to make those changes. You can change the security settings on your Vista machine to allow PubAssist to run as it always has, but we figured it was better in the long-run to play along with what Microsoft has in mind.
The installation now creates a new “home” folder where all the data elements of the application will be stored. The Publishers’ Assistant programs and supporting files will still be installed to c:\program fiels\pubassist. However, your database, report forms, configuration file, and user preferences, anything that can change as a result of running the application are now stored in the new home folder. After much deliberation, it was decided that this new home folder should reside in your “Documents” folder. Prior versions of Windows refer to this as your “My Documents” folder. By default, your installation will create a home folder at Documents\pubassist data\.
Just as it was not a good idea to store your database directly in the c:\program files\pubassist\ folder in previous versions, in Version 5 your database should not be directly in the new home folder. The reason is that if PubAssist finds a database in the home folder, it will never look beyond that folder for another. This would prevent you from being able to point to different databases should the need arise (and it probably will at some time).
The default location for your database is documents\pubassist data\data. So the main installation issue, particularly for Lyric and Sonnet users who are upgrading, is that you must move your data from its old location to the new one. This, however, is not the only issue. Once you move your data in place, you will need to update report definitions. You'll also need to re-register.
The PubAssist Initialization Wizard
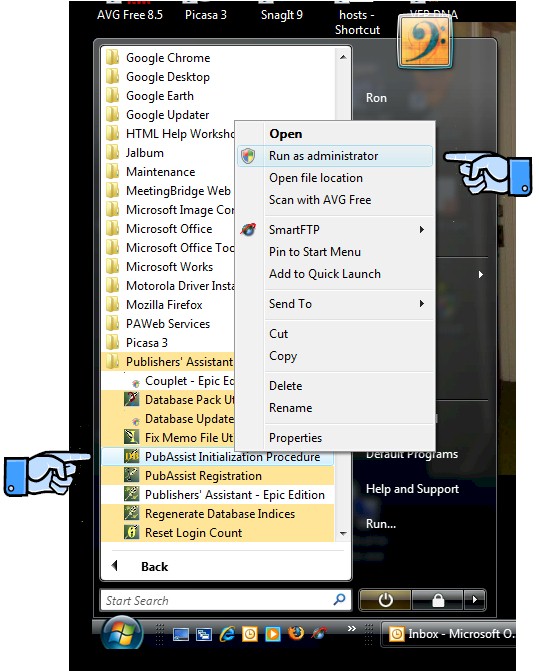
To make things a little easier, we've developed a wizard to guide you through the process. You will start the Initialization Wizard from the Windows Start menu. Go to Start>Programs>Publishers' Assistant on the menu.
This wizard may require administrative access to complete all of the tasks at hand. For example, it will insure that your shortcuts (icons) are pointing to your new home folder. Mind you, the installation procedure has already done this, but the wizard affords you an opportunity to move your home folder to wherever you want.
-
In order for the wizard to update these shortcuts, it will need administrative privileges.
So, you need to use the "Run As Administrator" option on the menu. Right click on "PubAssist Initialization Procedure" to see that option.
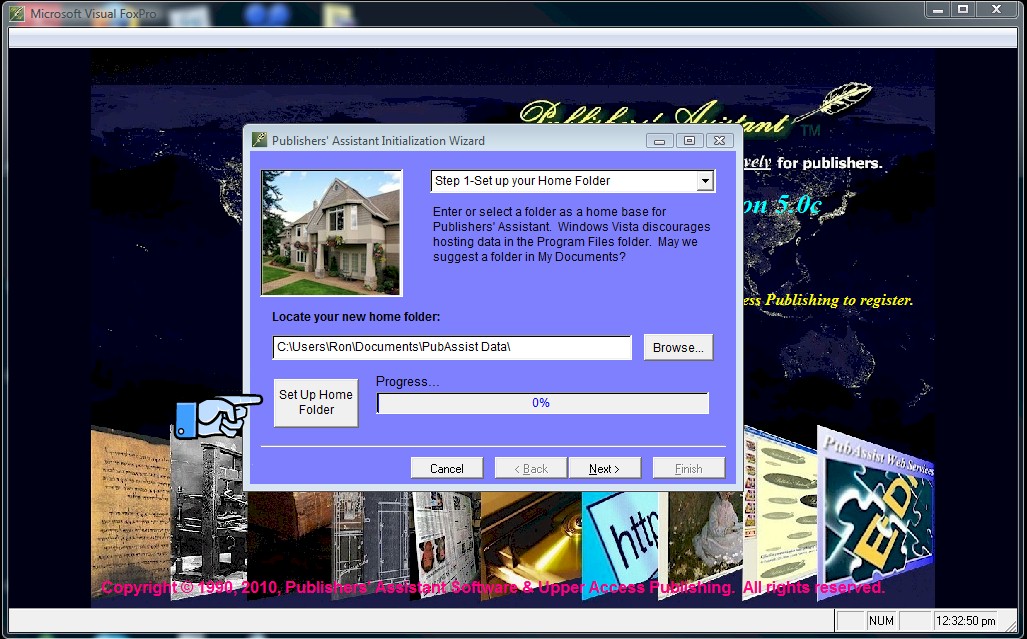
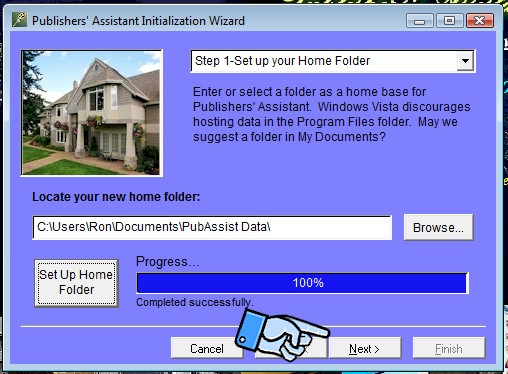
This will bring up the initialization wizard. As you can see, the home folder is documents\pubassist data\data by default. You can use the options on this page to set up a home folder in a different location. Until you get the hang of things, I'd suggest leaving it in this location. Now if you just installed, your home folder is already set up. So, you can actually skip this step. But know that this procedure is here in case you need to reinitialize or move your home folder. Click on the "Set up Home Folder" button to initialize your home folder and update your shortcuts.
Click on "Next" to move on...
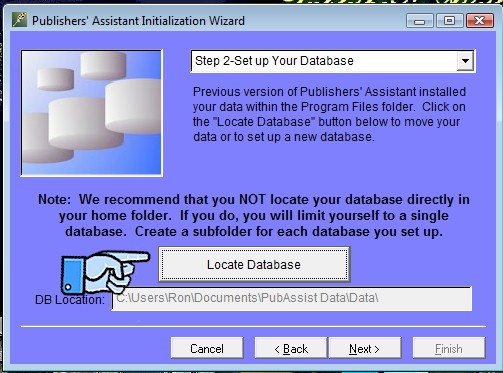
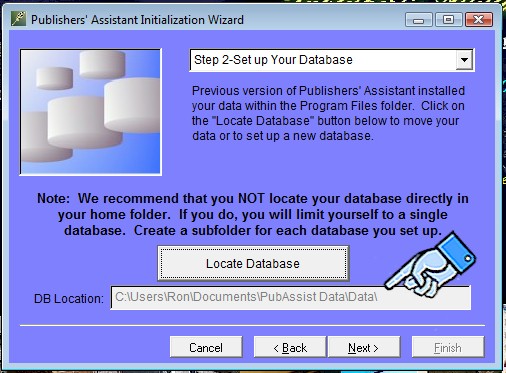
Once your new home folder is initialized, you'll want to move your database into it. At this step, you'll actually be calling up the Locate Database Wizard--a second wizard--to move your data. You can see that the default location is documents\pubassist data\data. Click on the "Locate Database" button to start the new wizard.
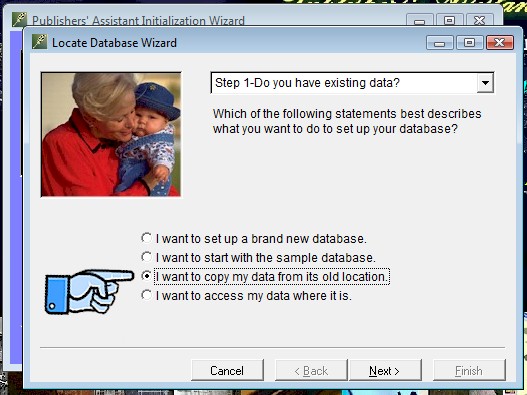
This is the same wizard that runs when you choose the "Locate Database" option on the File menu inside PubAssist Version 5. As you can see, it allows you several options. Since we are upgrading, we have a set of data out there that we want to copy into our new home folder. So, I've suggested choosing the third option in the image below. Epic users will want to choose the fourth option. Your data is probably already in a location where it can be accessed by other users, so you'll simply want to access the data where it is.
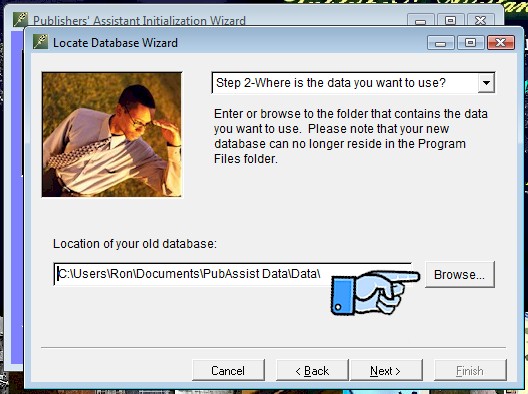
In this example, we're going to assume that our data is in the standard location for Version 4 Sonnet and Lyric users. Unless you've moved it, your data should be in c:\program files\pubassist\data. Click on the "Browse" button to navigate to that location.
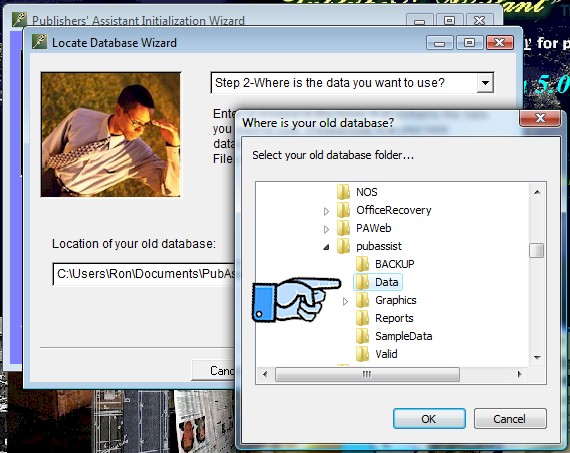
Go to "Program Files"...

...then pubassist...and finally to the data subfolder. Click on "OK".
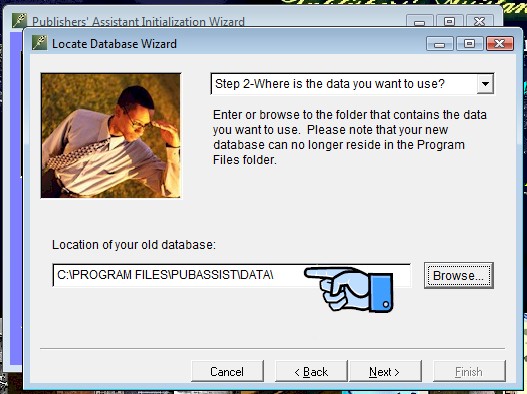
Back at the Locate Database Wizard, notice that your selected data path has been filled in. Click on "Next".
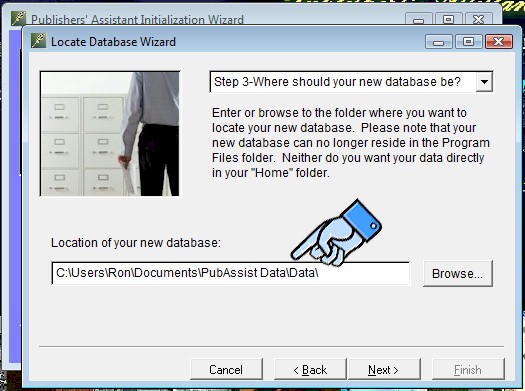
Now you will specify the new location for your database. Again, notice that documents\pubassist data\data\ is the default. You can change this by clicking on the "Browse" button and navigating to a new location, or by editing the data path in the box. We're going to leave the default data path here for this example. Click on "Next".
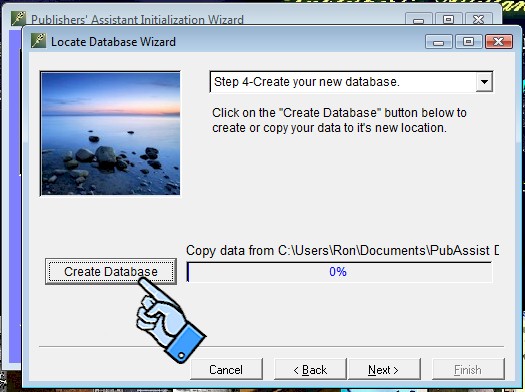
This is where you actually copy your data from its old location to the new one. Click on "Create Database".
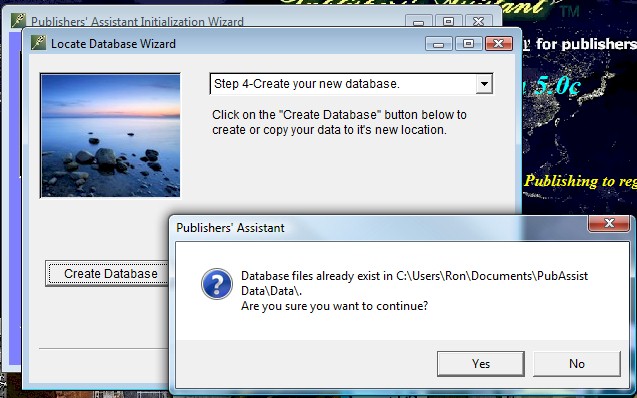
Since we've chosen the default data folder, there is already an empty database in the folder. So, we'll get this warning that a database already exists. Click on "Yes" to continue.
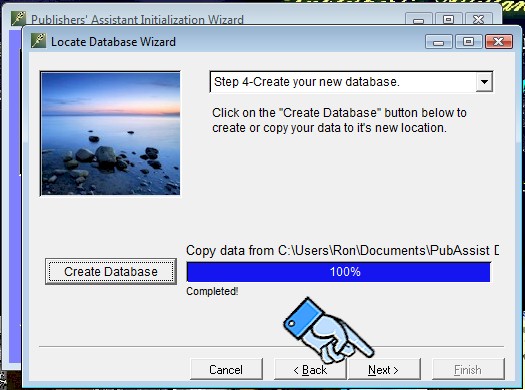
The Wizard will copy your database from its old location to the new. When completed, click on "Next".
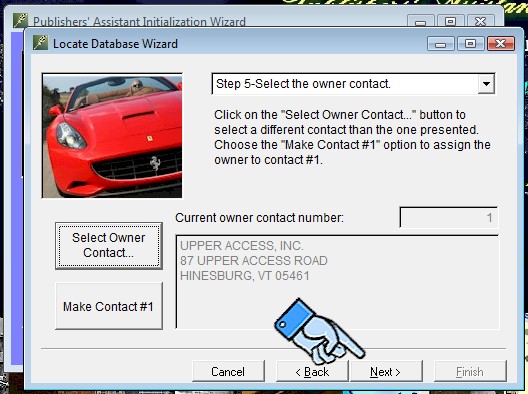
In the past, remembering to select your owner contact was always a problem. This step in the Locate Database Wizard prompts you to do that. The newly initialized user preferences will specify contact #1 as your owner contact. If contact #1 is not the owner contact in your database, click on the "Select Owner Contact" button.

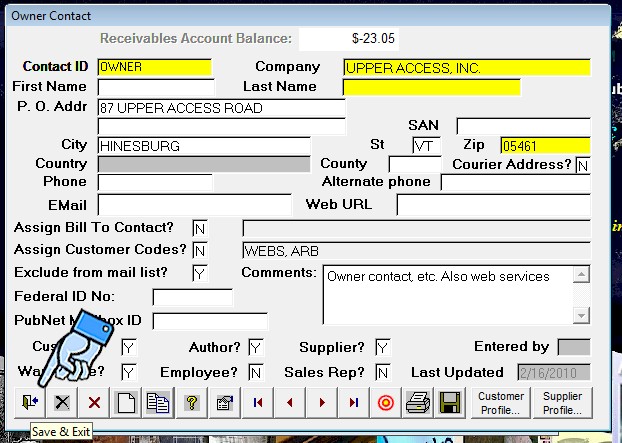
That will bring up the contact screen to allow you to select your owner contact. This screen should be an old friend by now if you are upgrading. So, I won't go into detail here. What is new is the navigation tools at the bottom. Actually this is a combination of the same options as in Version 4. They are even in the same order. We've replaced the words with icons to save some space. We've also moved the navigation tools from the far left of the Version 4 screen to each of the data entry screens. Hopefully, this will result in better visibility for these tools for new users. It's also intended to clarify for which screen you are navigating through records. If you pass your mouse over these options, you will get a little tool-tip text to help you understand the function for that option.
The "Continue" option has been replaced with the doorway icon and the tool-tip now reads, "Save and Exit". Click on that to return to the wizard.
So now, you've selected your owner contact. There is good reason to make your owner contact the first contact in your database and assign it contact number 1. This is especially handy if you manage multiple databases. It will save you time when bouncing back and forth. If your owner contact is NOT contact number 1, I recommend choosing the "Make Contact #1" option on the wizard. It will move your owner contact into the first record, and reassign the number 1 to all transactions throughout the database that refered to your old owner contact number. Click "Next" to continue.
Congratulations! You've just moved your data to its new location and reassigned your owner contact. But, we're not done. Click on "Finish" to return to the Initialization Wizard.

Notice that had you chosen a different location for your database, the new location of your data would be filled in here. Click "Next" to continue.
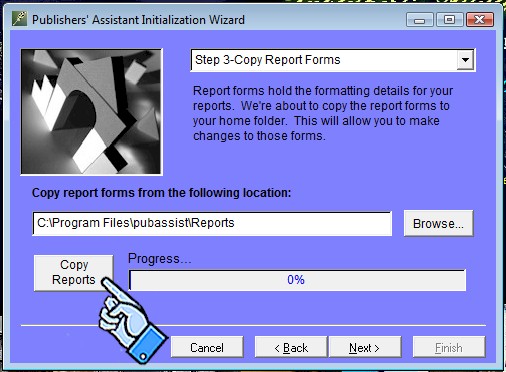
Since you just replaced the empty database with your old one, you need to update your report definitions. There are two parts to this. The first part is to copy the new report forms to your new home folder. Now, once again, the standard installation procedure does this for you. So, you may be able to skip this step. But since the wizard doesn't know whether you are initializing a new home folder or simply using the standard, it give you an opportunity to refresh your report forms here. Click on "Copy Reports" to copy the standard report forms to your home folder. When that is completed, click on "Next" to continue.
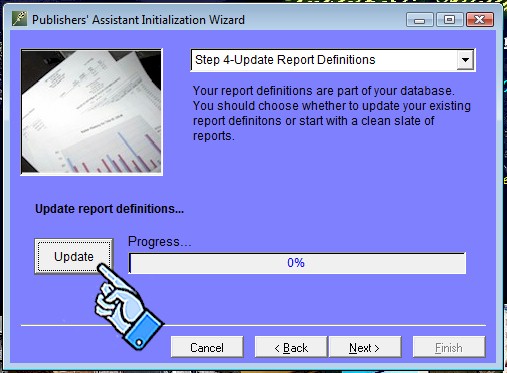
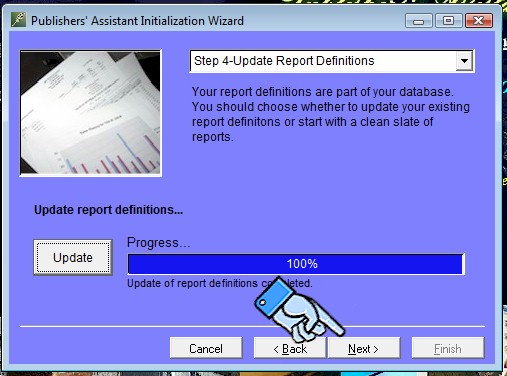
The second part of updating your reports is to update the report definitions. I'm sure that you remember that your report definitions are actually part of your data. That's what allows you to edit the reports. Click on "Update" to update your report definitions. This is a little different from previous versions. Sonnet users in particular will appreciate that many of the Sonnet reports are not appropriate for the Lyric and Epic Editions. This update will actually copy any non-standard reports from your old report definitions, and add them to a clean copy of the new report definitions. This will insure that those inappropriate Sonnet reports won't clutter up your report menus.
When completed, click on "Next" to continue.
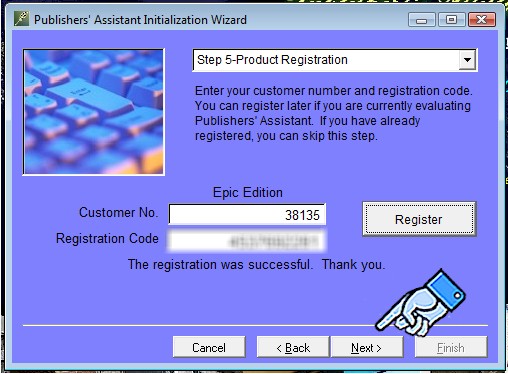
We're still not done! When you reinitialized your home folder and copied your old database, you probably wiped out your registration information. So, the Initialization Wizard gives you a chance to register now. Enter the customer number and registration code you received from Upper Access. Click on "Register" to update your registration. Click on "Next" to continue.
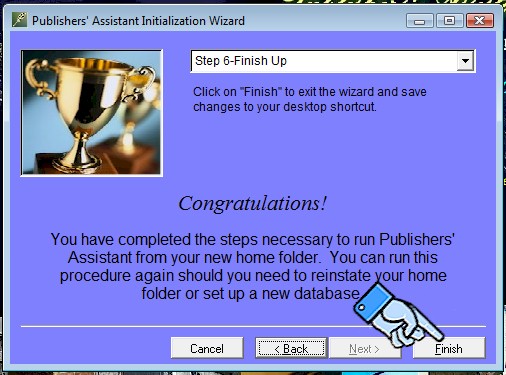
Finally! You've completed the initialization process. Click on "Finish" to exit the wizard.
It's important to know that all of these steps could have been done manually. You could have moved your data using Windows Explorer. You can use the "Locate Database" wizard to relocate your data inside of PubAssist. You can also update your report definitions and forms from within PubAssist. And most of you know that you could have re-registered by using the PubAsssit Registration option on the Start menu. This wizard simply puts the whole thing together for you. I hope that you find it helpful.
Happy Publishing! And thanks for upgrading to Version 5.

