How to Export Title Information to Publishers' Assistant Web Services
By Ron Lawrence Friday, December 6, 2007
This article describes how to use the newest export function as of Couplet V4.2z to export your title data to your PubAssist Web Services-enabled web site. You can order the latest version of Couplet by clicking here. Save the installation procedure to your hard drive and then execute it to install the new copy of Couplet. This version of Couplet does require a database update, so be sure to execute the DBUpdate utility from the Tools menu before you call up any of the data entry screens.
The ability to export title information is available, of course through the Title Export Wizard. You can use the wizard as you always have.
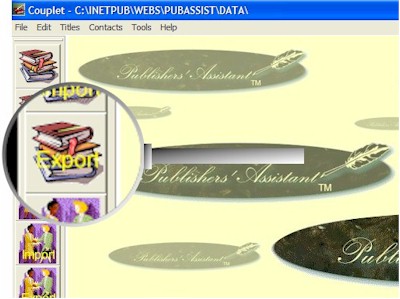
However, right now, I want to point out that you can now export title data directly from the Title screen. Click on this icon to bring up the title screen and navigate to a title to be updated and ultimately exported to your web site.
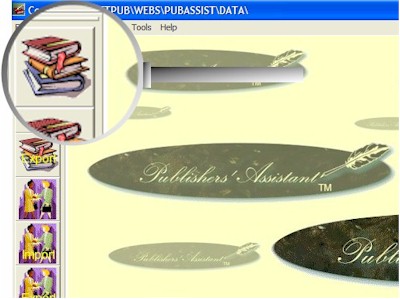
Notice the new "Export" command button on the navigation control for the title screen. Click here to begin the export process.
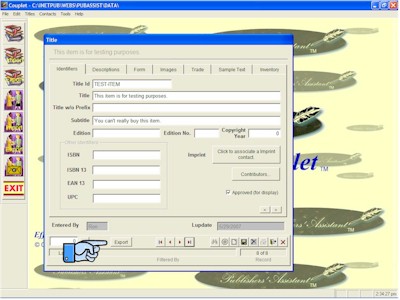
The Title Export Wizard will be started, but the title that you were working on is automatically selected. This bypasses the entire selection process. This is so easy, that you may find yourself exporting individual titles rather than using the Export Wizard to send several titles at once. Click on the "Next" button to continue.
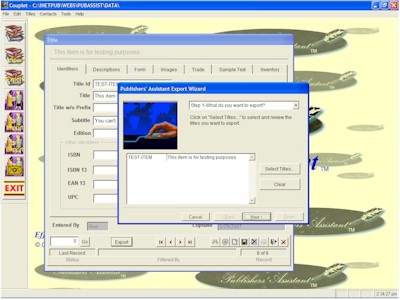
In step 2 of the Title Export Wizard, you will find a new option on the export format control. Select this new option entitled, "PAWeb Service".
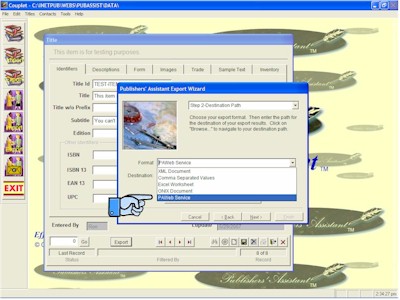
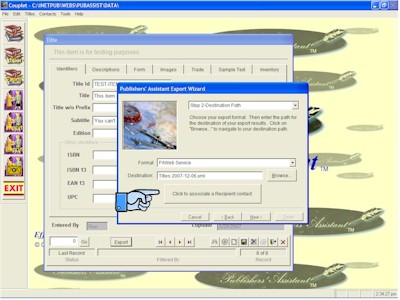
Notice, as well, that a destination file has been provided for you. This is a convenience to streamline the export process. You can override this file by providing a new file path. Click on "Browse" button to use the file open dialog to navigate to a new destination file. But now, I really want to bring your attention to the "recipient contact" command button. It's the big button at the bottom. The recipient contact is where you will specify the details of the web service you are exporting to. Click on it to call up the contact screen.
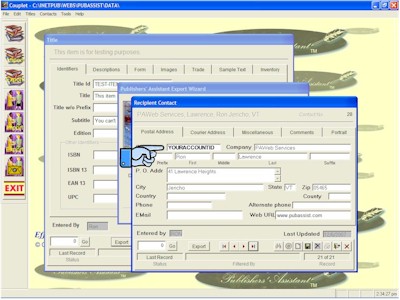
Now you can enter or select a contact that is specifically designated for the web service. Note that the Contact ID must be your web site account ID. This is the same account that you use to FTP changes to your web site. The rest of the name and address are not that important, but you should clearly identify the contact as your PAWeb Service recipient. You also need to satisfy the validation requirements to save a contact. So, I suggest that you use your own name and address.
>
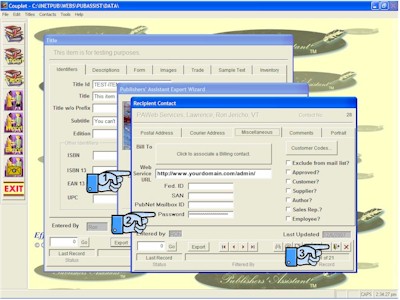
The rest of the critical information for the web service is located on the "Miscellaneous" tab. 1. Fill in your web service URL. The services we offer are ASP pages that typically reside in your Admin folder. Make sure to specify the admin folder for the web service URL unless you have specifically moved it to another folder. 2. The /Admin folder is password protected. That's why it's important to provide the correct User ID (the Contact ID field) and password. 3. Click on "Exit" when you have completed your contact entry.
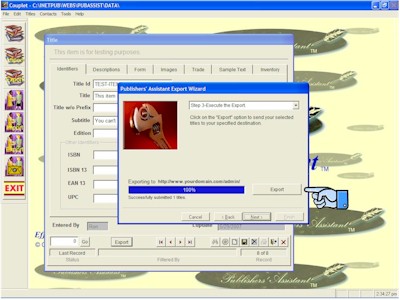
After selecting the recipient contact, click on "Next" to move to step 3 in the wizard. Click on "Export" to begin the export process. If all is correctly in place, then your title should be transmitted directly to your web site! You will be presented with any HTTP error that may have occurred if the export is not successful.
This new export function will not eliminate the need to FTP items to your web site. For example, the images that are associated with your title should be FTP'd to the /Uploads folder. This is where the web pages expect to find your book images. I toyed with uploading the images at the same time as transmitting your title data. In the end, I found that an HTTP Post was not terribly efficient, and would unnecessarily lengthen the amount of time needed to transmit changes. After you are up and running, I'd expect that you'll want to transmit small changes on a frequent basis. Your images will already be in place.
Well, there you have it. Life just got easier keeping your web site up to date. There are HUGE opportunities to use this capability to keep your web site always looking fresh. Here's a thought: Your home page could feature all of your active promotions! By creating an XSL style sheet to use your promotion data, your promotions can show up when they become active, and disappear when they expire! You don't have to do anything beyond specifying those promotions in Couplet.
Here's another thought: If your distributor is using PAWeb Services, here's an opportunity to automatically update your distributor's web site. And if you ARE a distributor, your publishers can feed you their title data electronically using nothing more than Couplet!


 Follow conversations with Ron on SPANNet.org.
 Proud participant in Microsoft Visual FoxPro Forum at Tek-Tips